
The Ultimate Guide to Growing Bell Peppers at Home
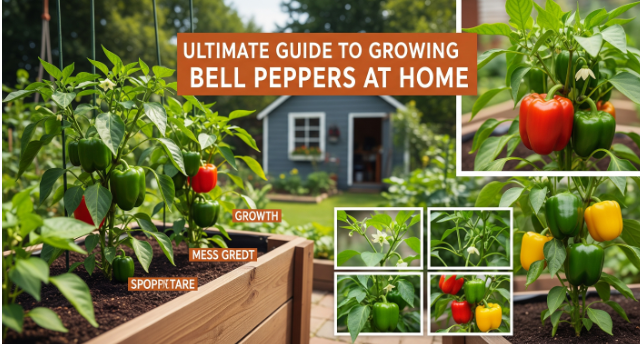
Bell peppers are one of the most vibrant and versatile vegetables you can grow in your home garden. Whether you love their crisp texture in salads or their sweetness when roasted, bell peppers are a must-have in any garden—balcony or backyard. The good news? They’re relatively easy to grow, produce abundant harvests, and thrive in containers or garden beds.
In this ultimate guide, we’ll walk you through how to grow bell peppers from seed to harvest, troubleshoot common problems, and enjoy a sustainable, flavorful harvest in 2025.
Why Grow Bell Peppers in Your Home Garden?
Bell peppers, also known as sweet peppers or capsicums, are warm-season crops packed with flavor and nutrients.
Here’s why home gardeners love growing them:
Rich in vitamins A and C, antioxidants, and fiber
Non-spicy and kid-friendly—perfect for family meals
Highly productive—a single plant can yield 5–10 fruits
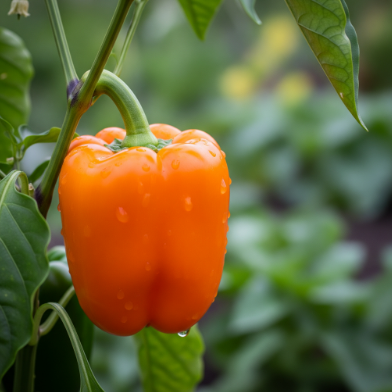
Comes in many colors—green, red, yellow, orange, purple
Thrives in pots and raised beds, making them great for small spaces
And nothing beats the satisfaction of slicing into a crisp, juicy pepper you grew yourself!
Types of Bell Peppers to Grow
Bell peppers come in a variety of colors and shapes. All start out green, but change color as they mature.
Popular Varieties:
| Variety | Color | Flavor Profile | Days to Maturity |
|---|---|---|---|
| California Wonder | Green/Red | Sweet, classic | 70–75 days |
| Yellow Belle | Green/Yellow | Mild, fruity | 65–75 days |
| Purple Beauty | Green/Purple | Mildly sweet | 70–75 days |
| Orange Sun | Green/Orange | Very sweet | 80–90 days |
| Red Knight | Deep Red | Rich and sweet | 65–75 days |
🌿 Pro Tip: Choose early-maturing varieties if you live in a cooler climate or have a short growing season.
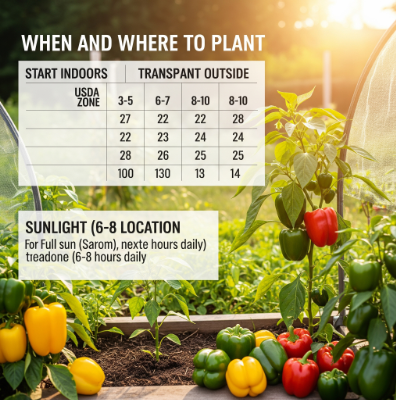
When and Where to Plant Bell Peppers
USDA Zone Guide:
| Zone | Start Indoors | Transplant Outside |
|---|---|---|
| 3–5 | Late March | Late May to early June |
| 6–7 | Early March | Late April to early May |
| 8–10 | February | Late March to early April |
Light and Location:
Full sun is essential—6–8 hours daily
Choose a warm, sheltered area protected from wind
Bell peppers love heat but dislike extreme fluctuations
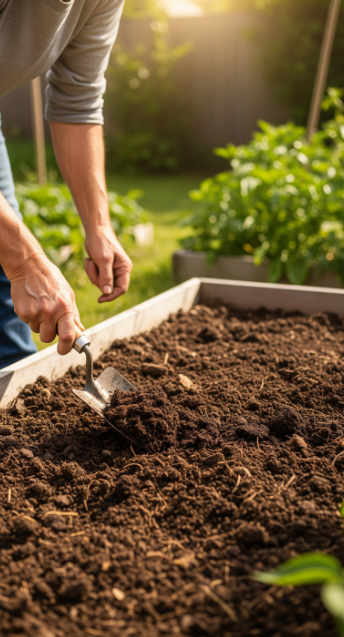
Preparing Soil for Bell Peppers
Soil Requirements:
Loamy, well-drained soil is ideal
pH between 6.0 and 6.8
Enriched with aged compost or well-rotted manure
Soil Prep Tips:
Add bone meal before transplanting to boost root development
Avoid over-fertilizing with nitrogen—this leads to bushy plants and fewer fruits
🌱 Consider using raised beds or large containers (minimum 12 inches deep) for better drainage and temperature control.
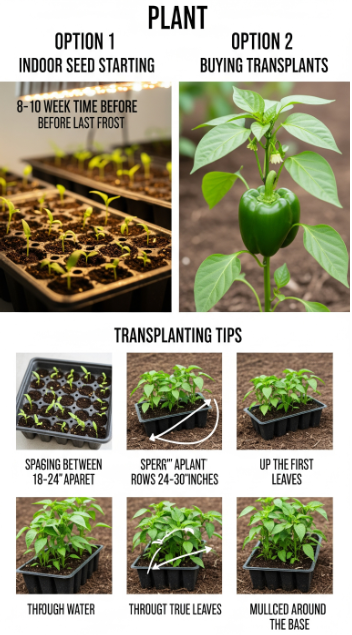
How to Plant Bell Peppers
Option 1: Starting from Seeds Indoors
Start seeds 8–10 weeks before your last frost date
Sow ¼ inch deep in seed trays
Keep warm (70–80°F) and moist
Use grow lights for 12–14 hours a day
Harden off seedlings for 7–10 days before transplanting
Option 2: Buying Transplants
Choose stocky, green plants about 6 inches tall
Avoid plants already flowering—they’ll struggle to establish
Transplanting Tips:
Space plants 18–24 inches apart, rows 24–30 inches apart
Bury up to the first true leaves
Water thoroughly and mulch around the base
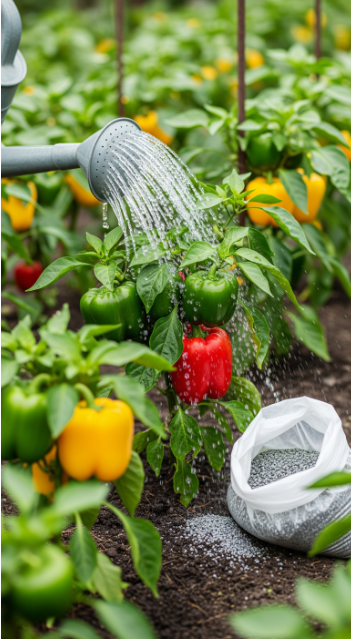
Watering and Fertilizing Bell Peppers
Watering Tips:
Keep soil consistently moist but not soggy
Aim for 1–1.5 inches of water per week
Use mulch (straw, grass clippings) to conserve moisture and suppress weeds
Fertilizer Schedule:
Pre-plant: Add balanced fertilizer (10-10-10) or compost
Mid-season: Switch to a low-nitrogen, high-potassium formula
Avoid overfeeding—too much nitrogen = fewer fruits
🫑 A light top-dressing of wood ash can boost fruit development by adding potassium.
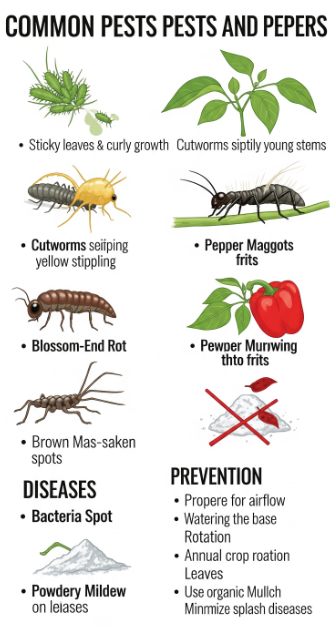
Common Bell Pepper Pests and Diseases
Common Pests:
Aphids: Sticky leaves and curled growth—control with neem oil or insecticidal soap
Cutworms: Snip young stems at soil level—use collars or diatomaceous earth
Spider Mites: Yellow stippling on leaves—spray with water and insecticidal soap
Pepper Maggots: Burrow into fruits—use row covers and practice crop rotation
Diseases:
Blossom End Rot: Brown sunken spots on fruit—caused by calcium deficiency and irregular watering
Bacterial Spot: Water-soaked lesions—rotate crops and use disease-resistant varieties
Powdery Mildew: White powder on leaves—remove infected leaves and increase air circulation
✅ Prevention:
Space plants properly for airflow
Water at the base, not overhead
Rotate crops annually
Use organic mulch to prevent splash diseases
Pruning and Staking Bell Peppers
While not essential, light pruning helps improve airflow and light penetration.
Tips:
Remove early flowers to encourage root development
Prune lower leaves and small suckers (especially in containers)
Stake or cage plants if heavy with fruit to prevent breakage
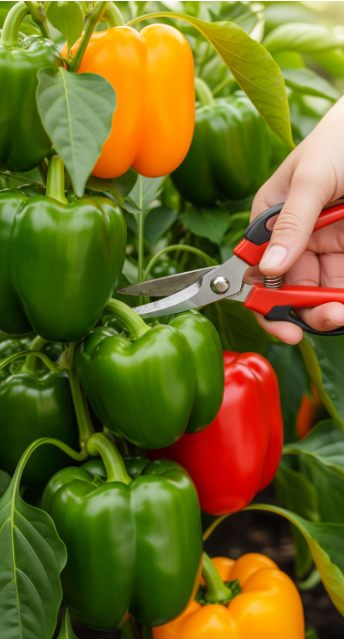
Harvesting Bell Peppers
When to Harvest:
Green peppers: Pick when firm and fully grown (usually 3–4 inches long)
Colored peppers (red, yellow, etc.): Allow an extra 2–3 weeks for full color and sweetness
The longer the pepper stays on the plant, the sweeter and more nutrient-rich it becomes.
How to Harvest:
Use clean garden scissors or pruners
Avoid pulling or twisting—this can damage the plant
Regular harvesting encourages more fruit production
Storing and Preserving Bell Peppers
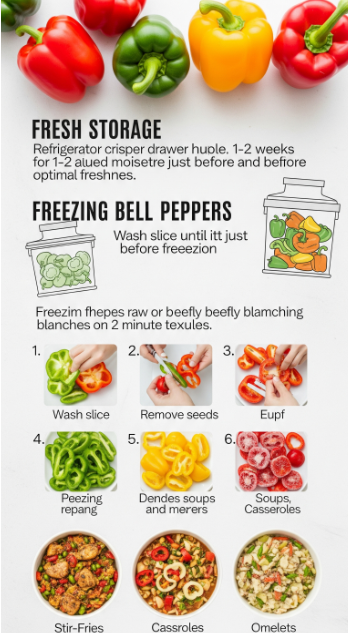
Fresh Storage:
Keep in the refrigerator crisper drawer for 1–2 weeks
Avoid washing until ready to use to prevent spoilage
Freezing Bell Peppers:
Wash and slice
Remove seeds
Freeze raw or blanch for 2 minutes
Store in airtight bags for up to 10–12 months
🧂 Use frozen peppers in stir-fries, soups, casseroles, or omelets.
Delicious Ways to Use Bell Peppers
Your homegrown bell peppers can be used in countless delicious recipes:
Stuffed peppers with quinoa, beans, or rice
Stir-fried with garlic, onion, and soy sauce
Grilled skewers with other vegetables and herbs
Roasted and blended into sauces or soups
Chopped fresh in salads, tacos, or wraps
Pair with homegrown herbs like basil, cilantro, and oregano for garden-fresh flavor.
