

How To Grow Tomatoes in Raised Beds and Containers like grow bags and pots is one of the most effective ways to ensure a healthy, high-yield harvest. In this 2025 gardening guide, you’ll discover the advantages of raised bed gardening, soil preparation tips, planting strategies, and container gardening comparisons to help you grow delicious, organic tomatoes at home.
Learn how to choose between grow bags and pots, prevent diseases, manage pests naturally, and optimize your setup for flavor and productivity. box or a mounded area of soil that is higher than the surrounding ground. It offers several benefits for tomatoes: improved soil quality, better drainage, and easier access for the gardener. Here’s how to grow tomatoes in raised beds for a productive, healthy crop.
Benefits of Raised Beds for Tomatoes:
Why use raised beds? First, you have total control over the soil. Many gardeners fill raised beds with a mix of topsoil, compost, and other amendments, creating an ideal growing medium that is loose and fertile. If your native soil is clayey, rocky, or contaminated, a raised bed filled with quality soil circumvents those issues.
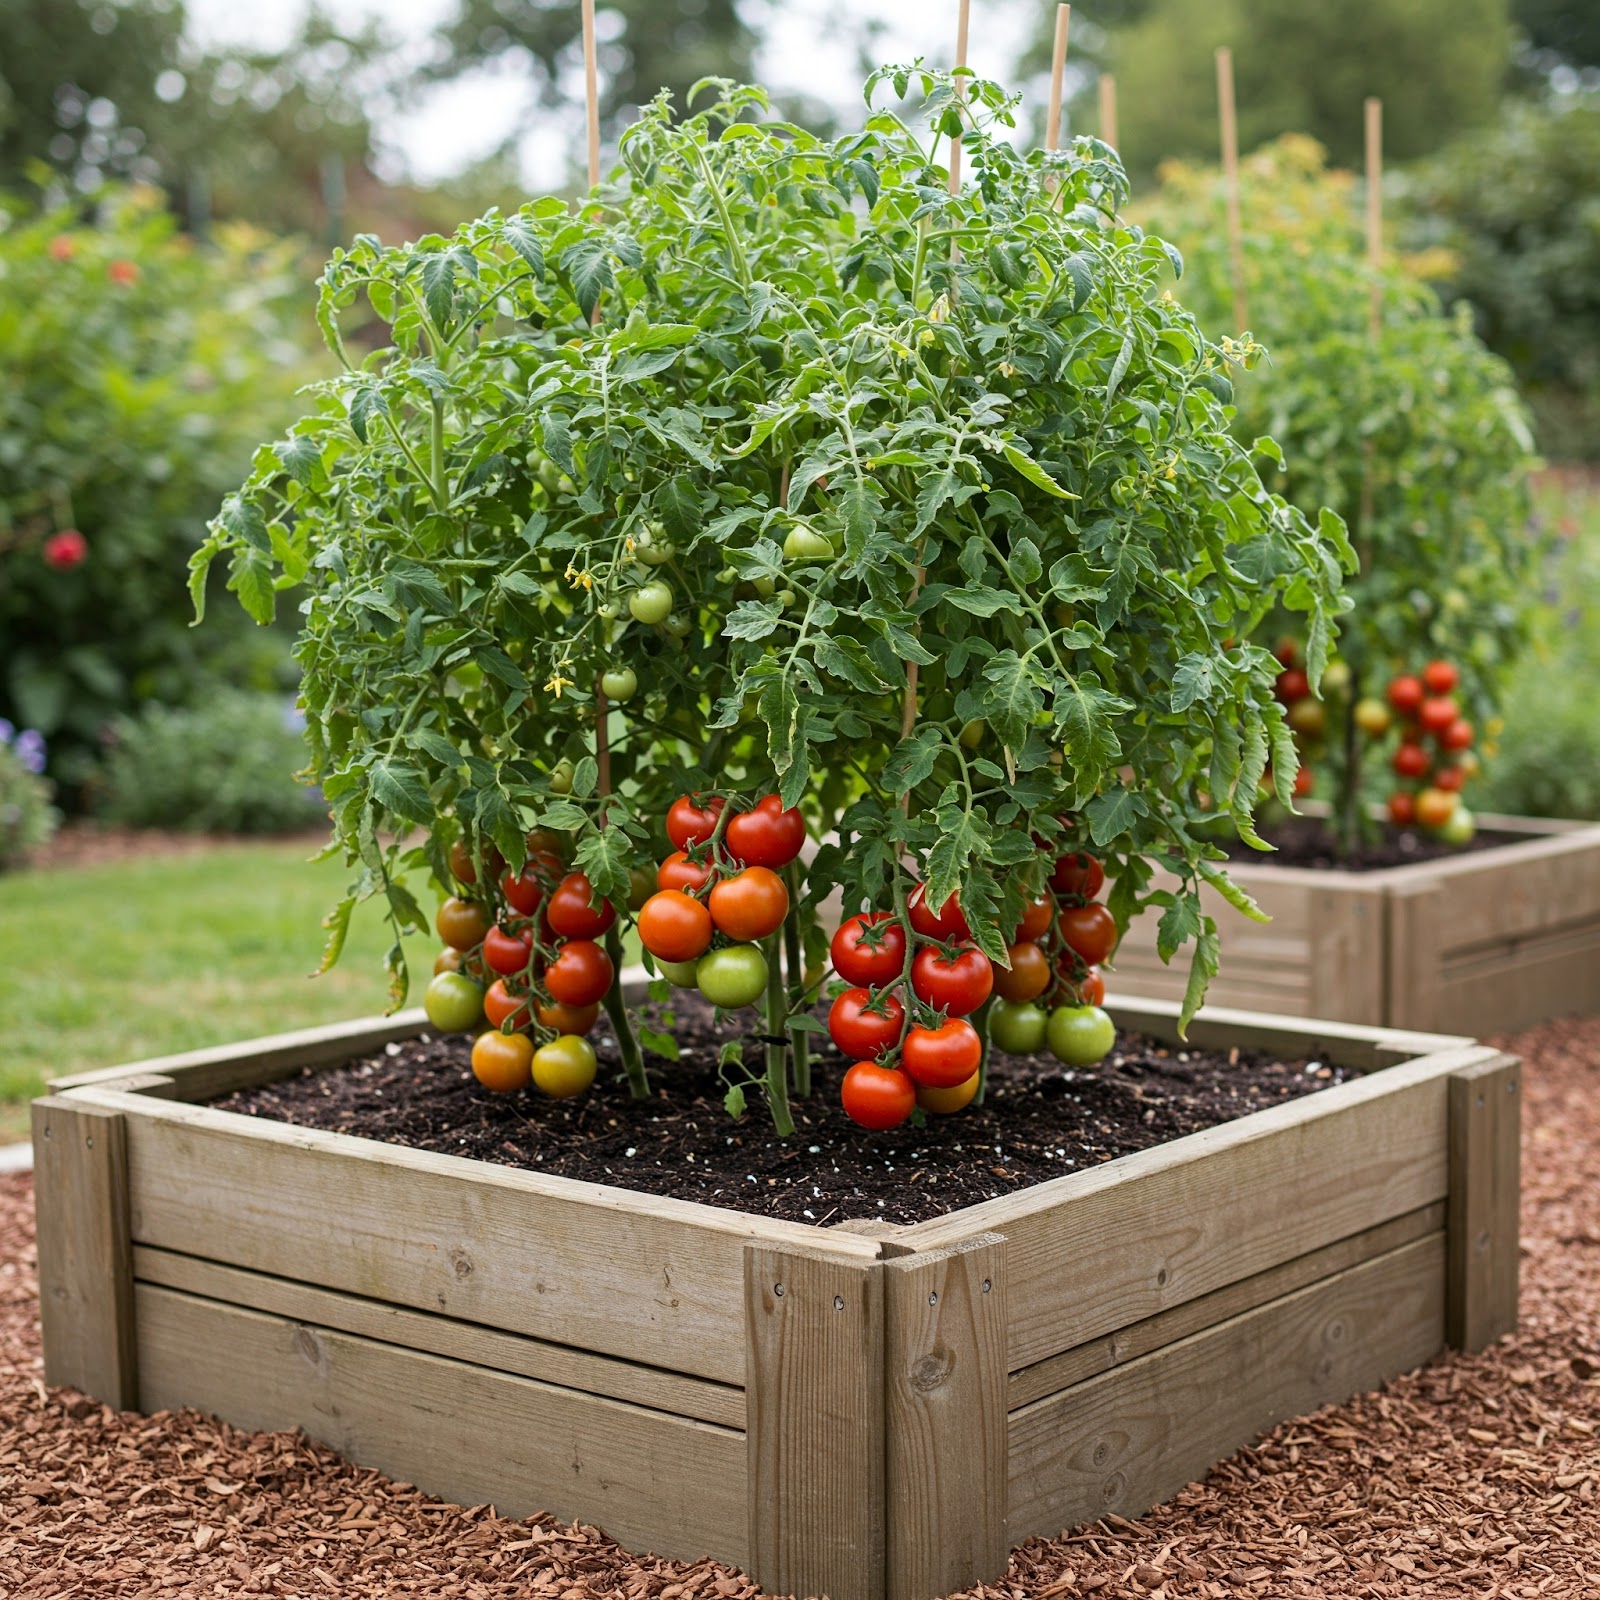
Raised beds also drain well – tomatoes don’t like their roots sitting in water, and raised beds prevent waterlogging, especially in heavy rain. The soil in a raised bed warms up faster in spring, meaning you can often plant tomatoes a little earlier than in-ground (important for cooler climates). The defined space makes it easier to implement crop rotation and isolate tomato specific
soil issues. Plus, raised beds are typically above ground level, which can reduce pests like slugs and some soil-borne diseases that might be present in native soil. Many gardeners also find the accessibility of raised beds convenient – less bending over to tend plants, and the ability to put supports or covers directly over the bed. In summary, raised beds create a controlled environment, which is very tomato-friendly.
Soil Preparation in Raised Beds and Containers
Even though you may have filled your raised bed with good soil initially, it’s important to refresh it each season. Before planting tomatoes, loosen the soil and mix in decomposed organic matter. Add a few inches of compost or well-rotted manure to the bed and turn it under.
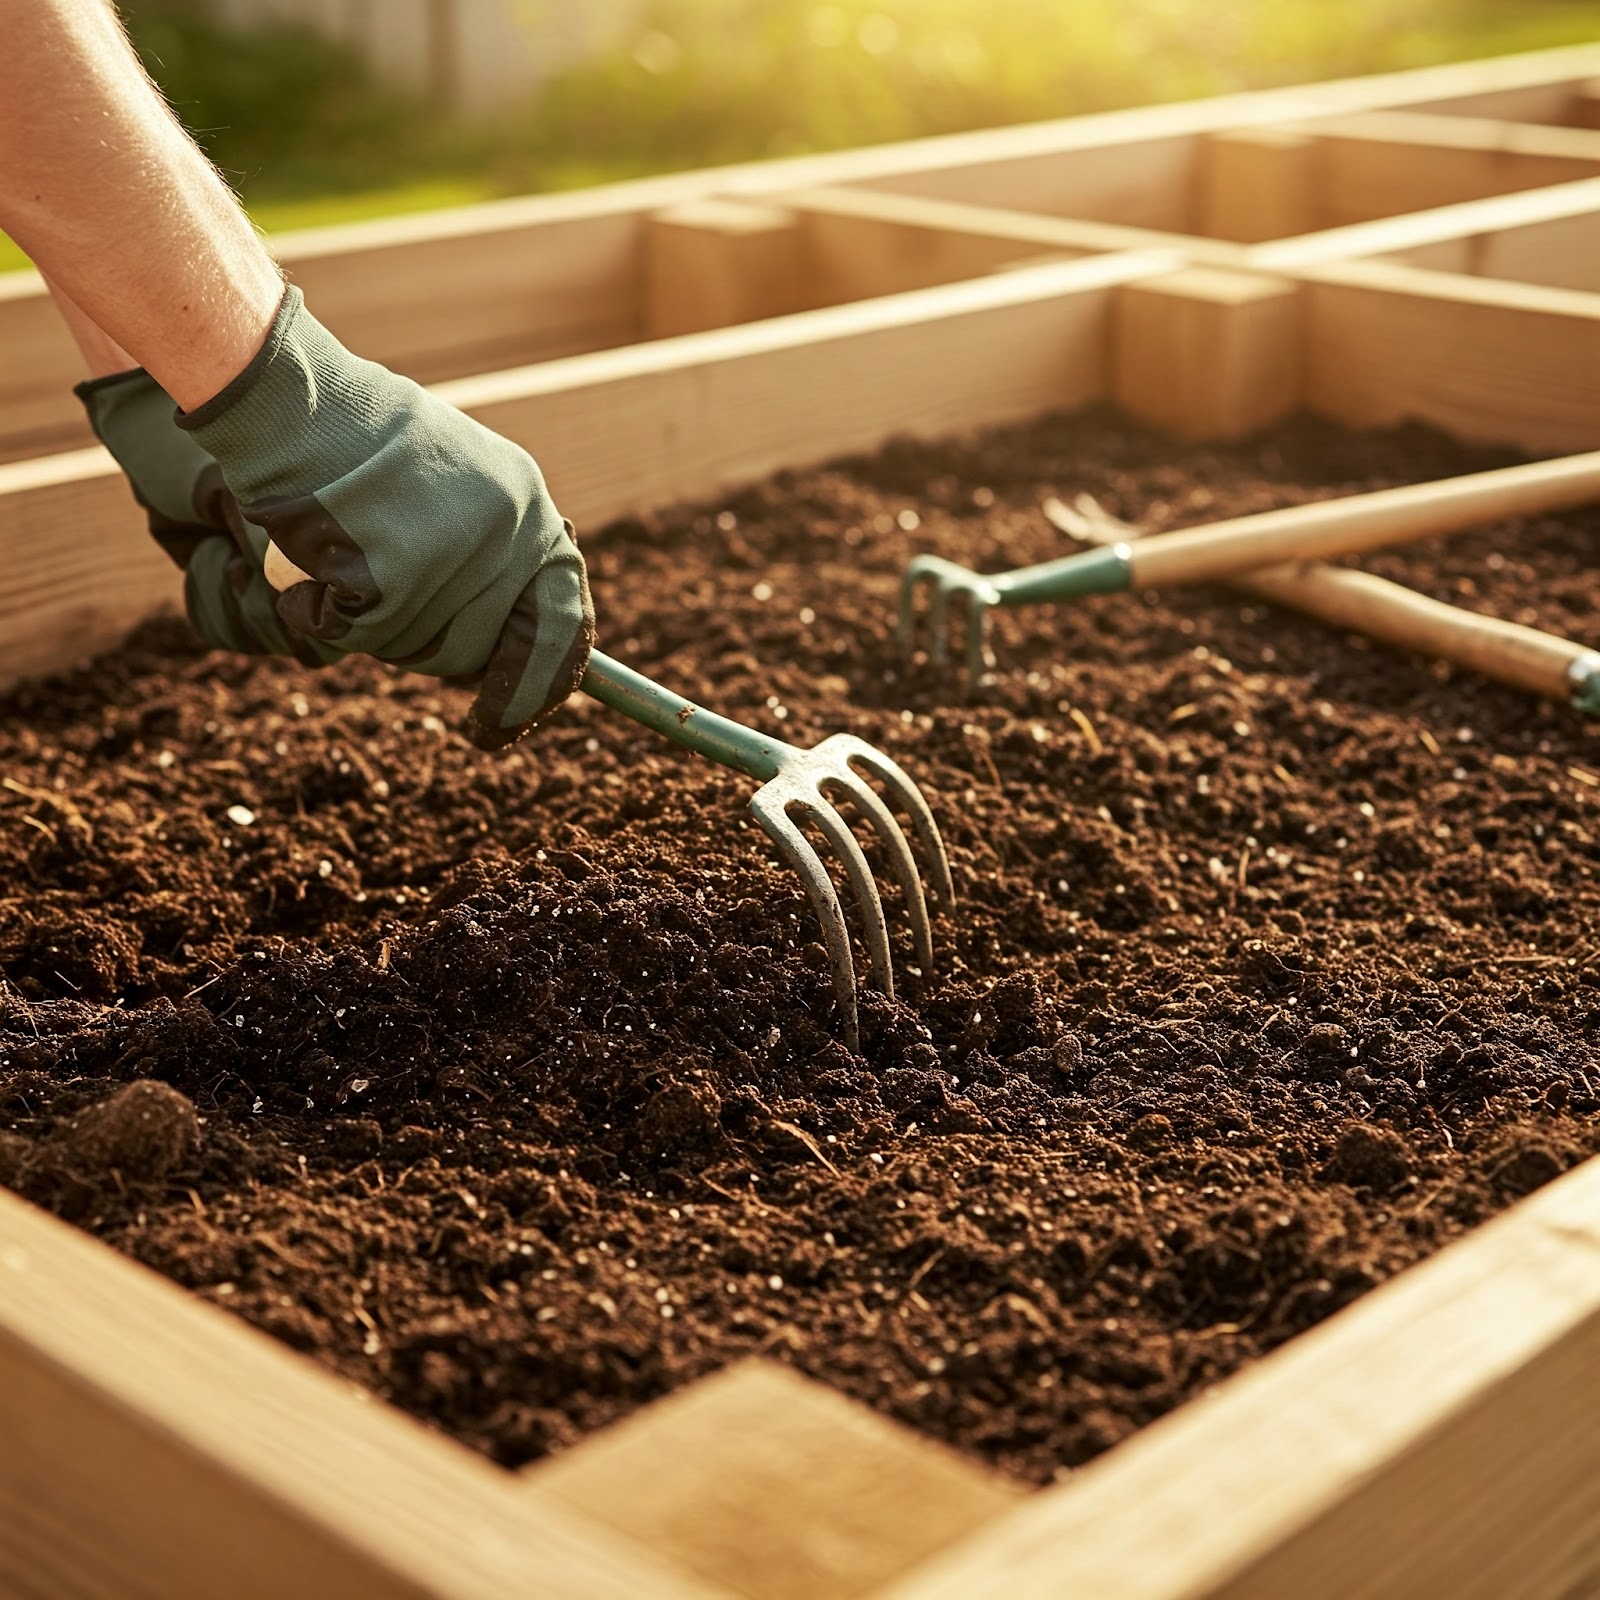
This improves soil fertility and structure. You can also add other organic amendments: some gardeners like to mix in bone meal for phosphorus (to help with root development and fruiting) and wood ash or kelp meal for potassium. Check the soil pH and adjust if needed (aim ~6.5). Raised beds sometimes settle over time, so you might need to top up with additional soil/compost to maintain depth. Make sure the bed is at least 12 inches deep (deeper is better) so tomato roots have plenty of room.
Before planting, rake the surface smooth. Raised beds tend to have excellent crumbly soil if managed well, which tomatoes will root into aggressively. If you had any disease issues in past years, consider solarizing or replacing the soil in that bed, or at least avoid planting tomatoes in the exact same bed spot as last year (rotate within the bed if space allows).
Planting and Spacing in Raised Beds and Containers
Plan your tomato layout with ample space. It’s tempting to fit many plants, but overcrowding leads to competition and disease. Even in raised beds, tomato plants (except for very small bush types) should be given roughly 2 to 3 feet of space from each other. As Better Homes & Gardens notes, non-patio tomato plants grow best when at least “3 feet apart. Ample space between tomato plants allows for easy air flow, which is essential for drying foliage quickly after rain or morning dew” .
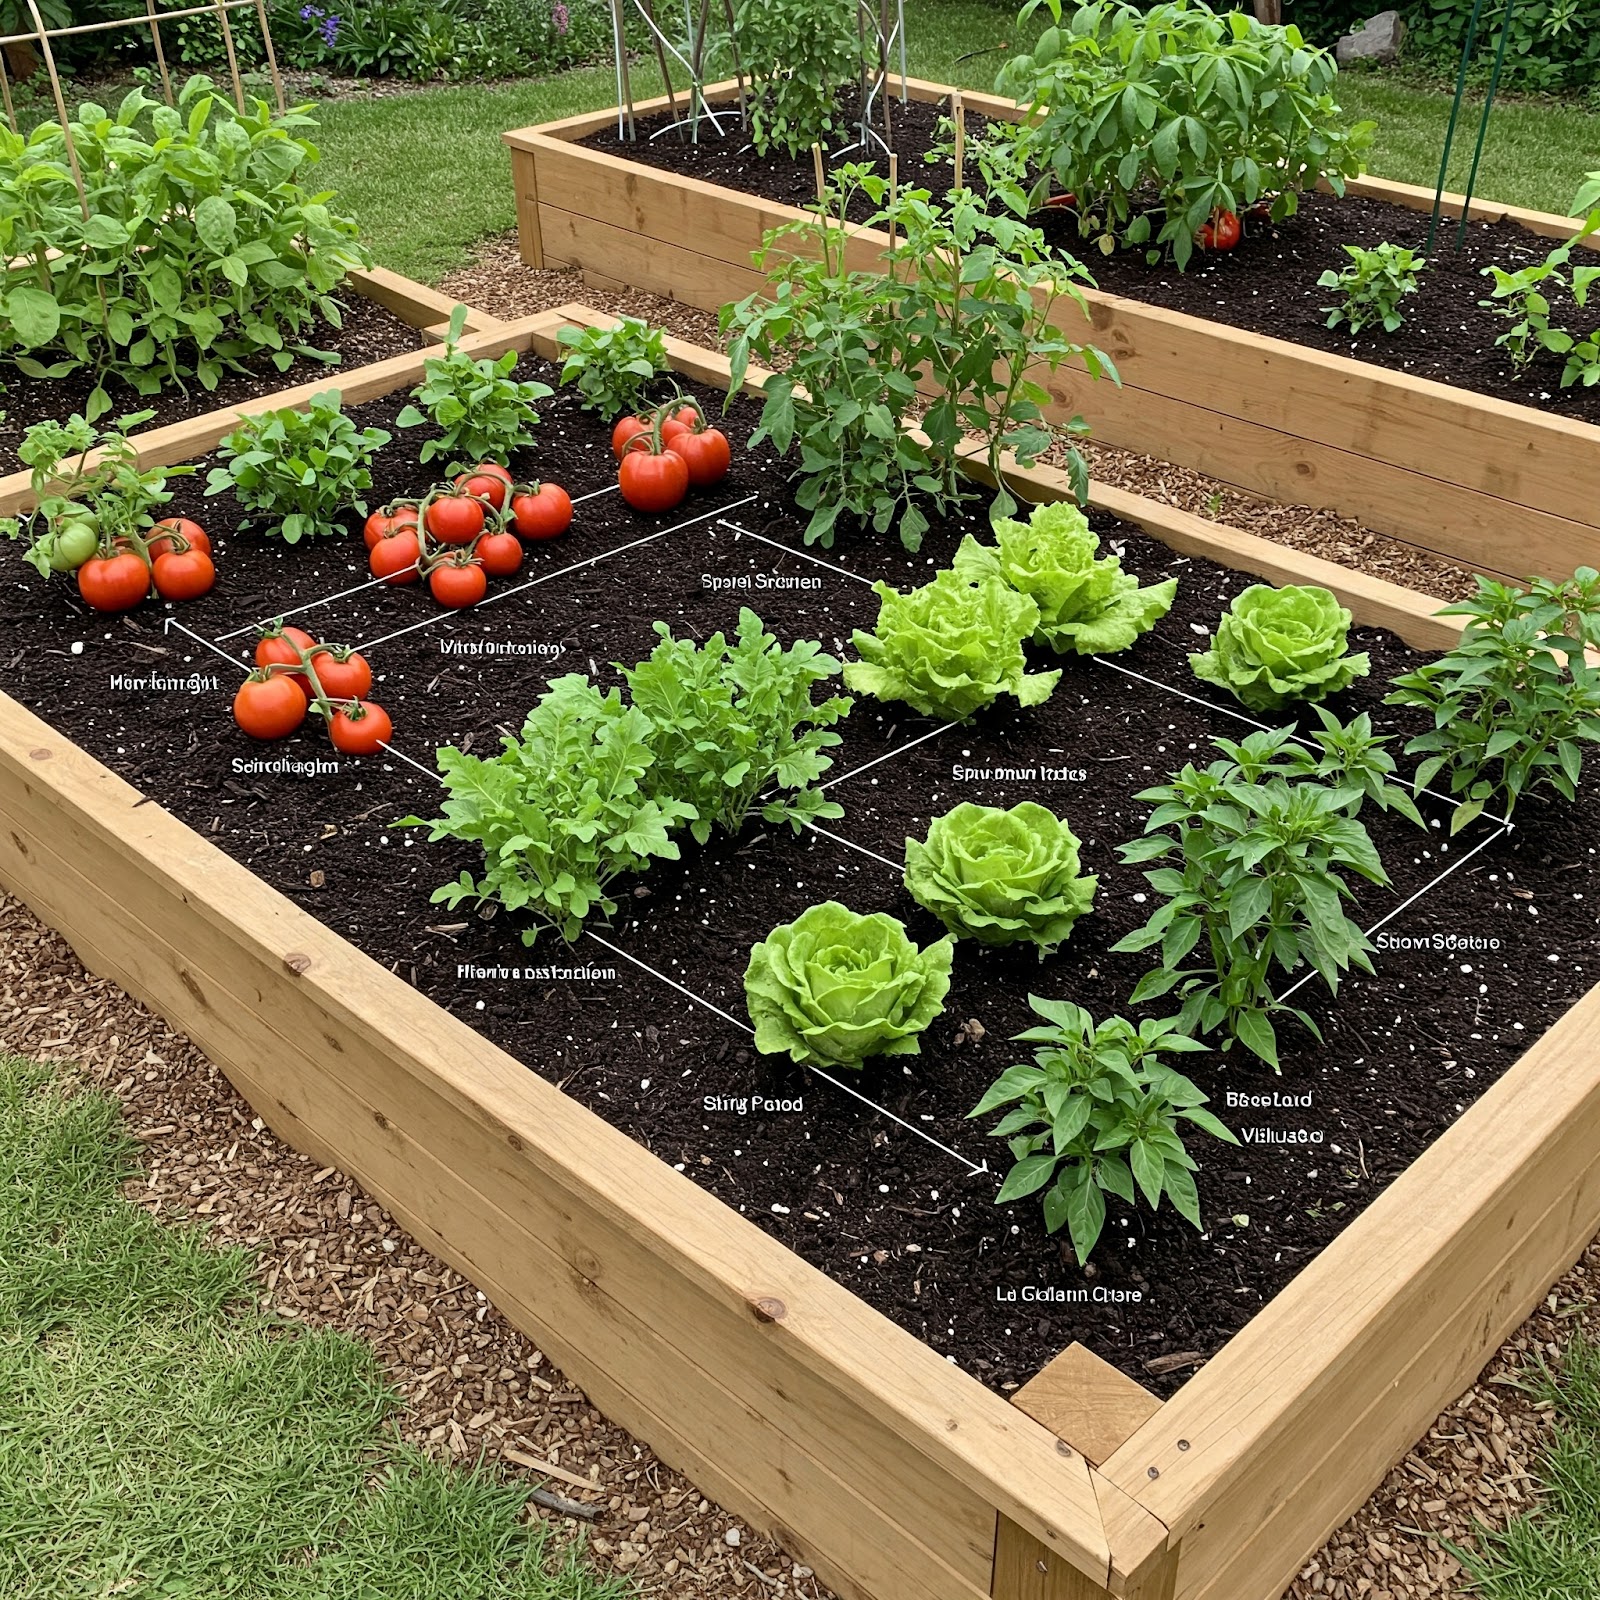
In a raised bed, this might mean planting in a zig-zag pattern or just a single row depending on bed width. For example, in a 4×8 foot bed, you might plant 3 tomato plants in a row down the length, each about 2.5 ft apart, and possibly a short border of marigolds or basil in between. When planting, dig a deep hole and set your transplant in deeply (same deep planting method – burying stem – applies in raised beds).
You can also plant tomatoes horizontally in a trench if the bed is shallow but wide: lay the seedling sideways, cover most of the stem, leaving the top 4-6 inches pointing up. Immediately after planting, install your cages or stakes in the bed (trying to push them into the ground carefully if bed has a bottom) to avoid root disturbance later. Water in the transplants. Mulch the bed around the tomatoes with straw or wood chips once the soil has warmed – this will keep weeds down and soil moisture steady.
Best Temperature for Growing Tomatoes in Raised Beds and Containers
Tomatoes thrive in warm, sunny conditions. Here’s the ideal temperature range to ensure healthy growth and a bountiful harvest:
- Daytime Temperature: 70°F to 85°F (21°C to 29°C)
- Nighttime Temperature: 55°F to 70°F (13°C to 21°C)
- Soil Temperature: At least 60°F (15°C) for planting
Pest and Disease Prevention in Raised Beds and Containers
Raised beds can reduce some problems, but not all. You still need to be proactive about pests and diseases. Crop rotation is wise: do not grow tomatoes (or related nightshades like peppers, eggplant) in the same bed area each year. Many soil pathogens (and even pests like certain beetles) can overwinter in soil. “It’s a good idea to rotate where you plant things every two to three years… some pests and diseases can overwinter in the soil,” advises one gardening source.
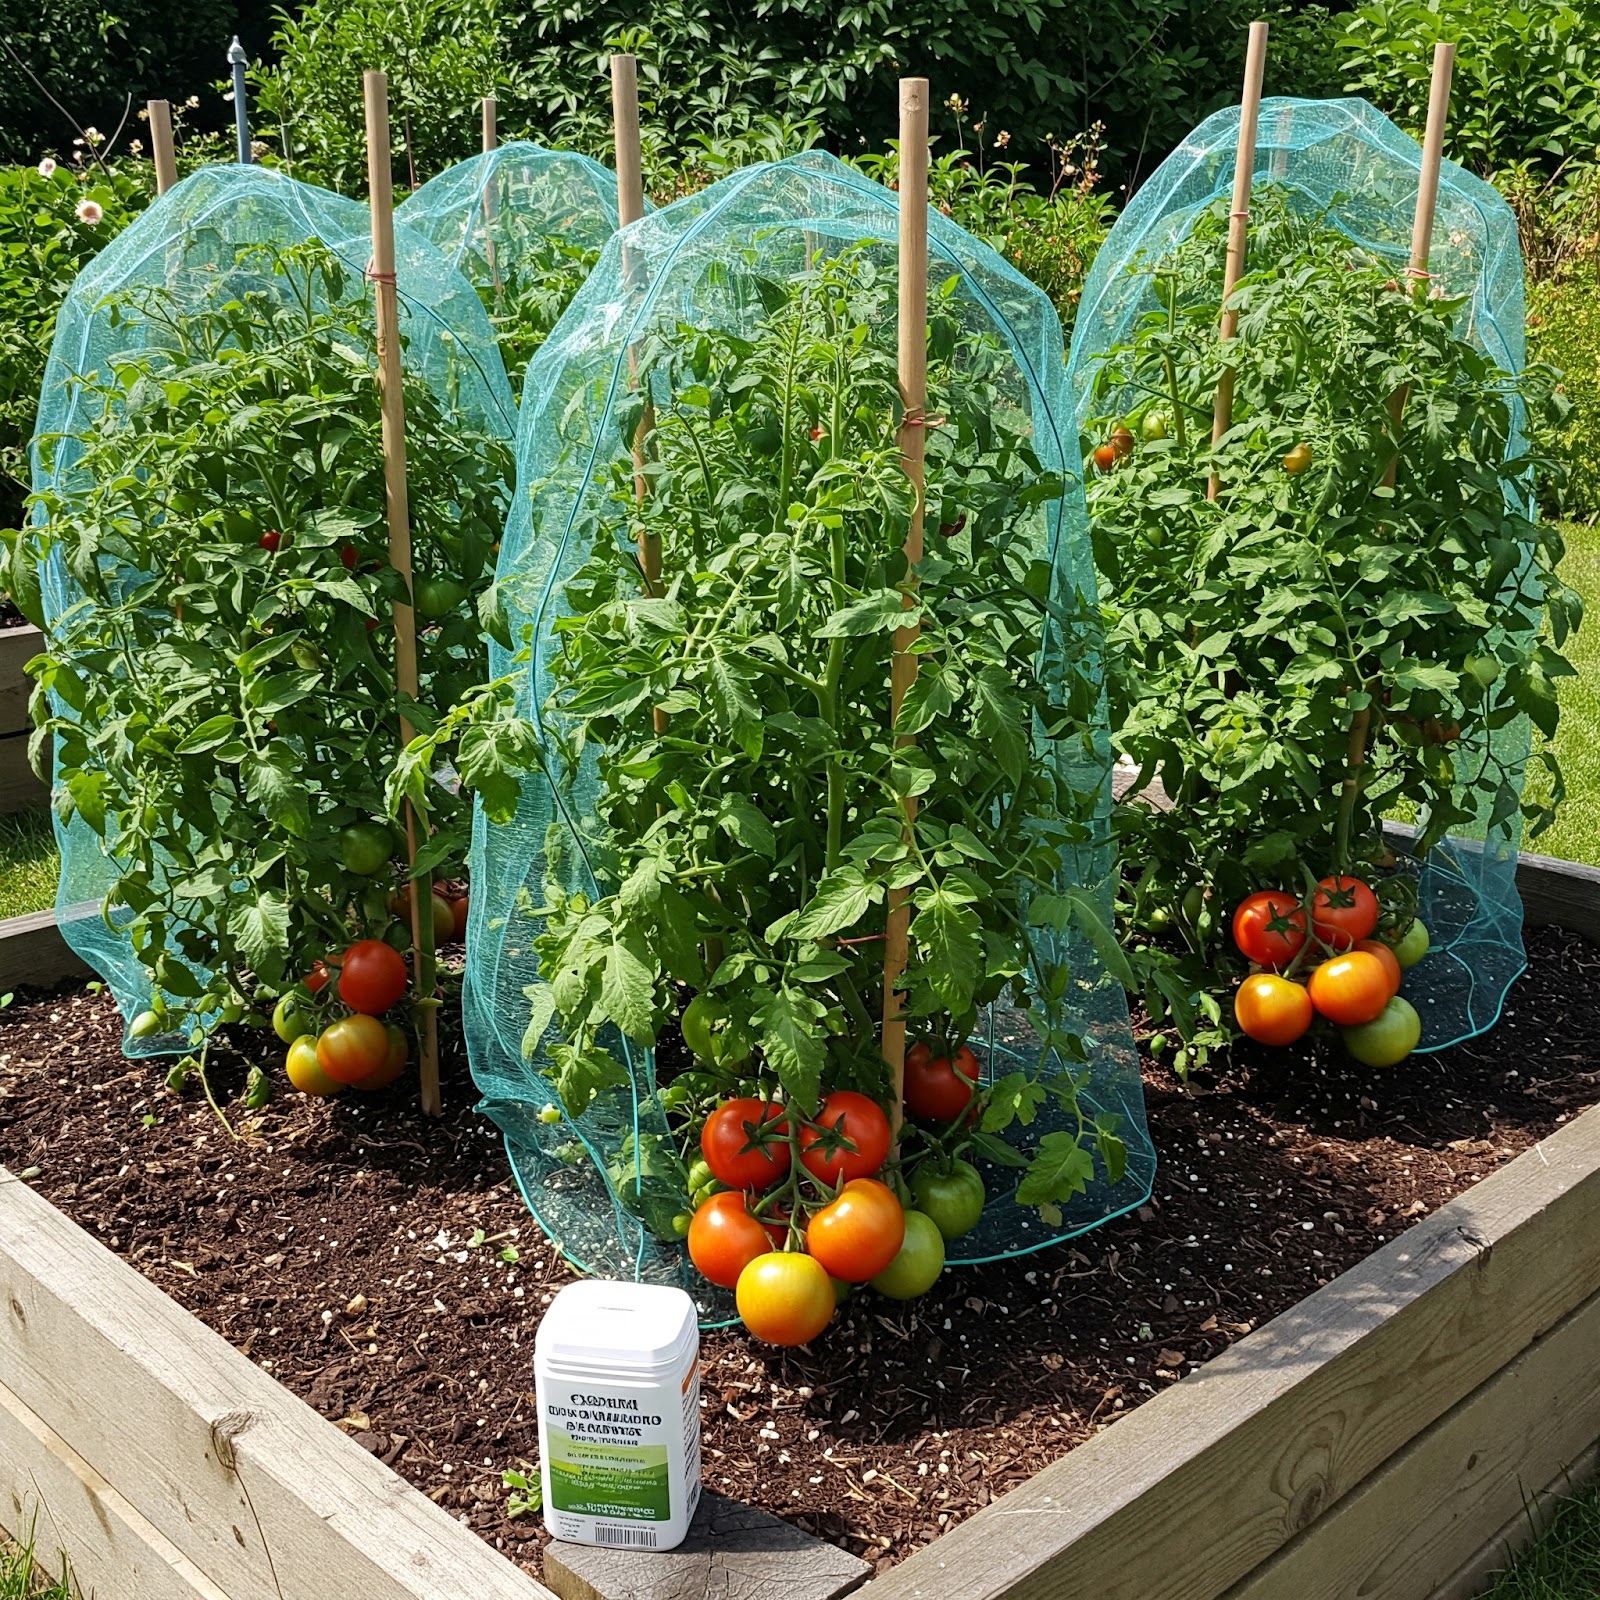
In a small garden this might be challenging, but at least try not to replant in identical spots and clean out plant debris thoroughly at season’s end. In raised beds, you might also practice interplanting or companion planting to naturally deter pests. For instance, planting marigolds between tomatoes is a classic strategy since marigolds can repel root-knot nematodes and possibly some insects.
They may also help discourage pests like whiteflies and thrips with their scent. Aromatic herbs like basil or chives are thought to confuse pests and can enhance tomato flavor too. Ensure good air circulation: prune the bottom leaves off tomato plants that touch the soil, stake or cage them so they’re upright, and don’t overcrowd (as noted).
Water at the base (not overhead) to avoid splashing soil. At the end of the season, clean up all tomato residues from the bed – do not leave infected vines to rot in soil. You may find raised bed tomatoes have fewer issues overall due to the controlled environment, but vigilance is still key. With these organic practices, your raised bed tomatoes will have a strong defense against pests and diseases.
Growing Tomatoes in Grow Bags vs Pots
If you’re considering containers, you might wonder: should I use traditional pots or grow bags for tomatoes? Both methods work, but each has advantages and disadvantages. Let’s compare grow bags vs. pots for growing tomatoes, and see which is best for your situation.
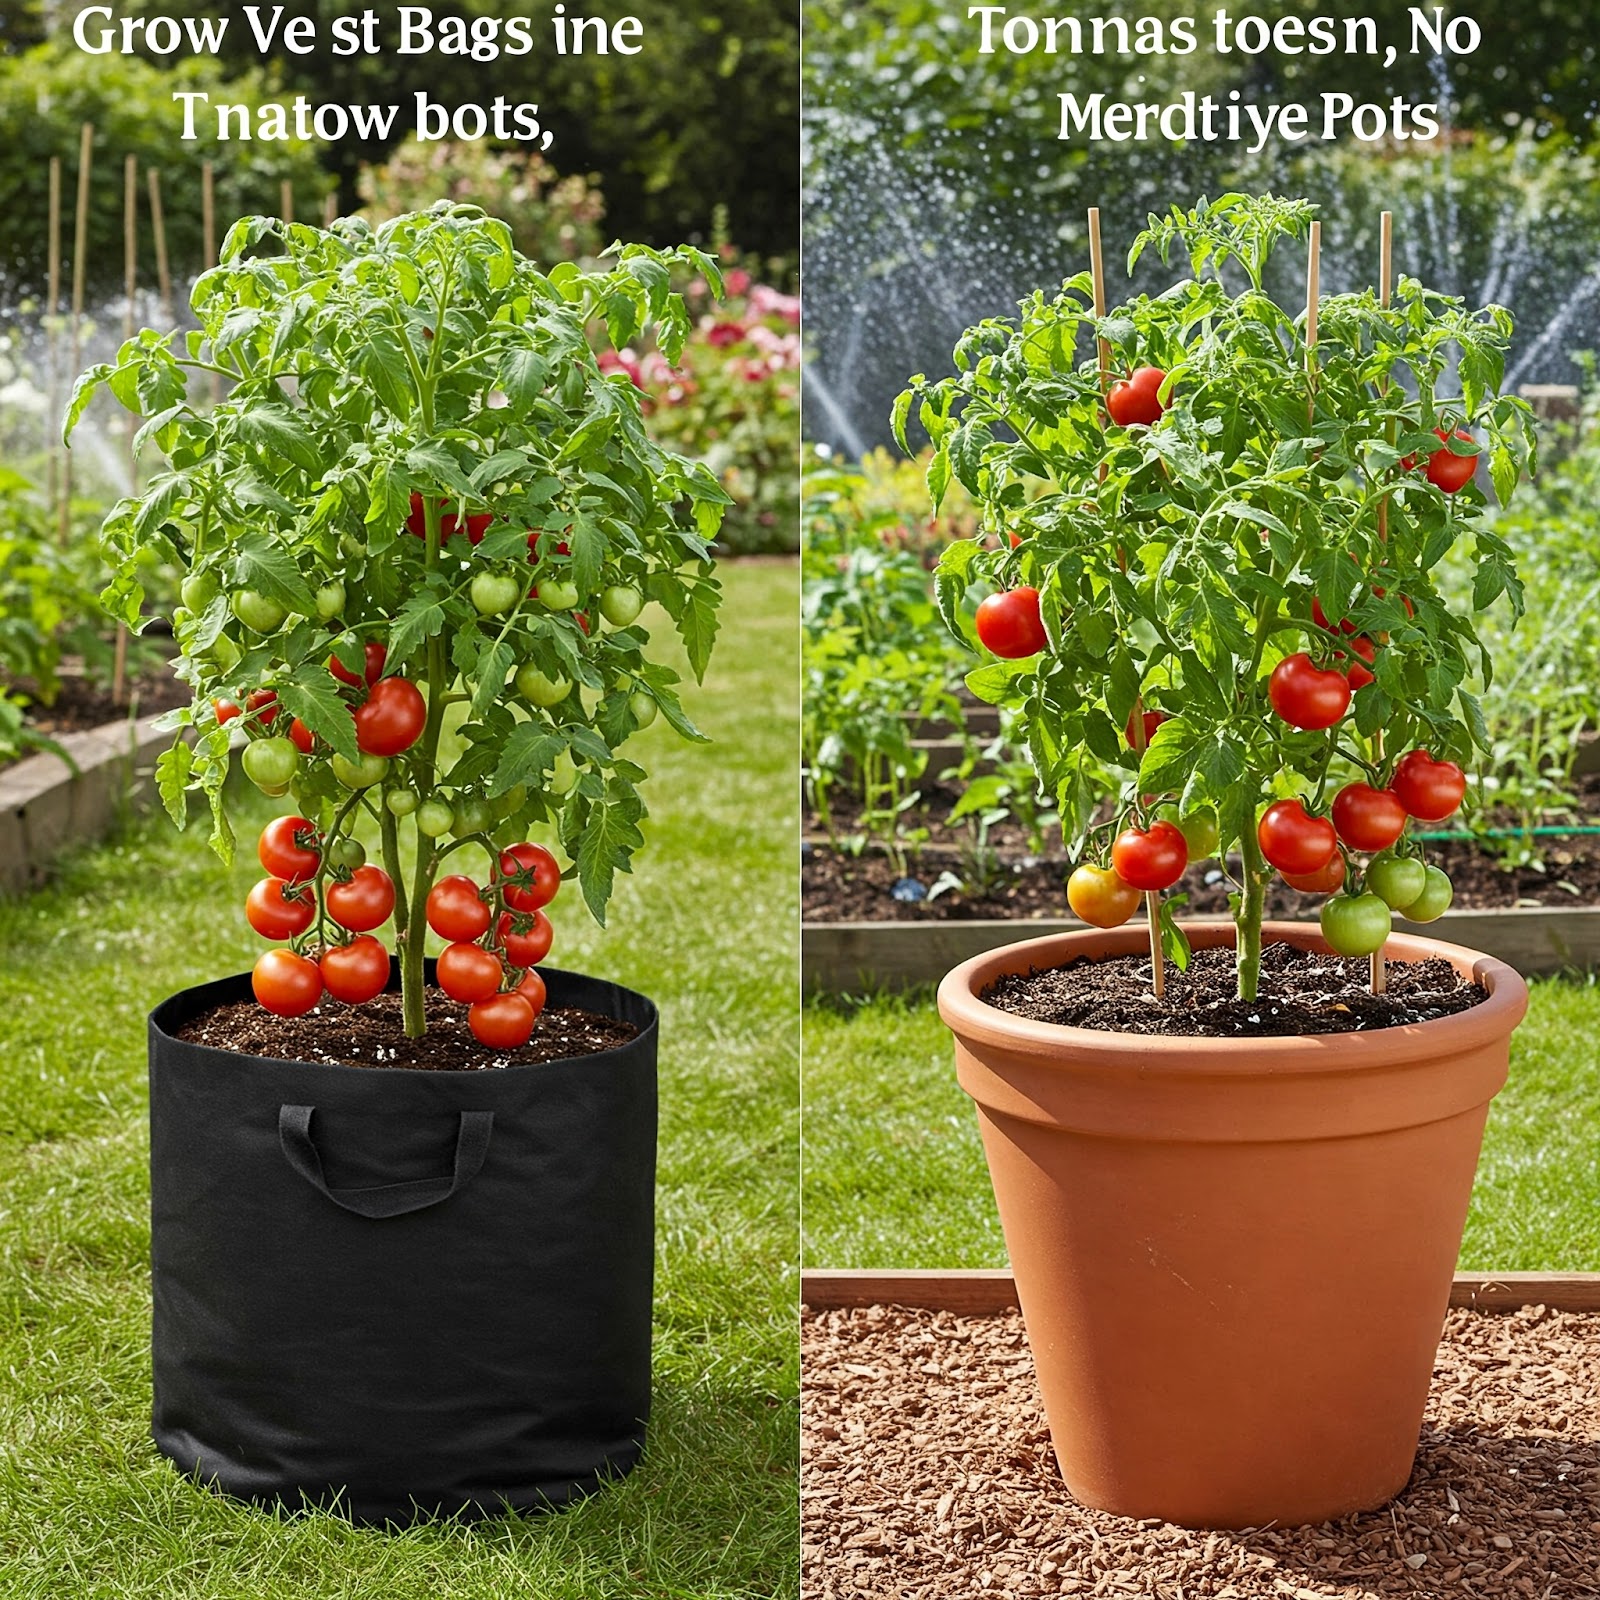
Grow Bags – Pros:
Grow bags are large, flexible containers usually made of breathable fabric or plastic that you fill with potting mix. One big advantage is improved root health – fabric grow bags allow air to penetrate, air-pruning the roots. Instead of roots hitting the side and circling (as in plastic pots), in a grow bag the root tips get exposed to air, dry out, and that stimulates the plant to grow new branching roots.
This prevents root-bound plants and creates a fibrous, healthy root system . Another benefit: excellent drainage. Grow bags are porous, so it’s almost impossible to overwater; excess water easily escapes, avoiding the soggy conditions that cause root rot . They also naturally regulate temperature better – excess heat can escape through the breathable fabric, whereas plastic can overheat soil .
Grow bags are lightweight and portable; many come with handles so you can move them around to catch sun or avoid bad weather. And when not in use, grow bags fold flat for easy storage, a big space saver compared to bulky empty pots . Some grow bags are even biodegradable, so you could plant the whole bag in the ground and it will break down over time . In summary, grow bags offer superior root aeration, drainage, and convenience for small-space or mobile gardening.
Grow Bags – Cons:
The main downside is they dry out faster. The porosity that gives great drainage also means water evaporates quickly, so you’ll likely need to water a grow bag tomato more often than a plastic or glazed pot. If you’re forgetful or travel often, this could be an issue. Also, while many plastic or ceramic pots can last indefinitely, fabric grow bags have a limited lifespan – often they last 2-3 seasons before wearing out.
They can degrade from sun exposure and may need replacing, which is an ongoing cost (versus a durable pot that’s a one-time buy). Over multiple seasons, the cost of replacing grow bags might add up. Some gardeners also find grow bags not as aesthetically pleasing – they typically come in plain black, brown, or green and can look like sack-like containers (though you can place them inside decorative outer pots if desired).
Traditional Pots – Pros & Cons:
Traditional rigid pots (plastic, clay, ceramic, wood) are the classic choice.
Plastic pots
Plastic pots are very cheap, retain moisture longer (good for hot climates), and are lightweight, but dark onescan heat soil and they aren’t breathable.
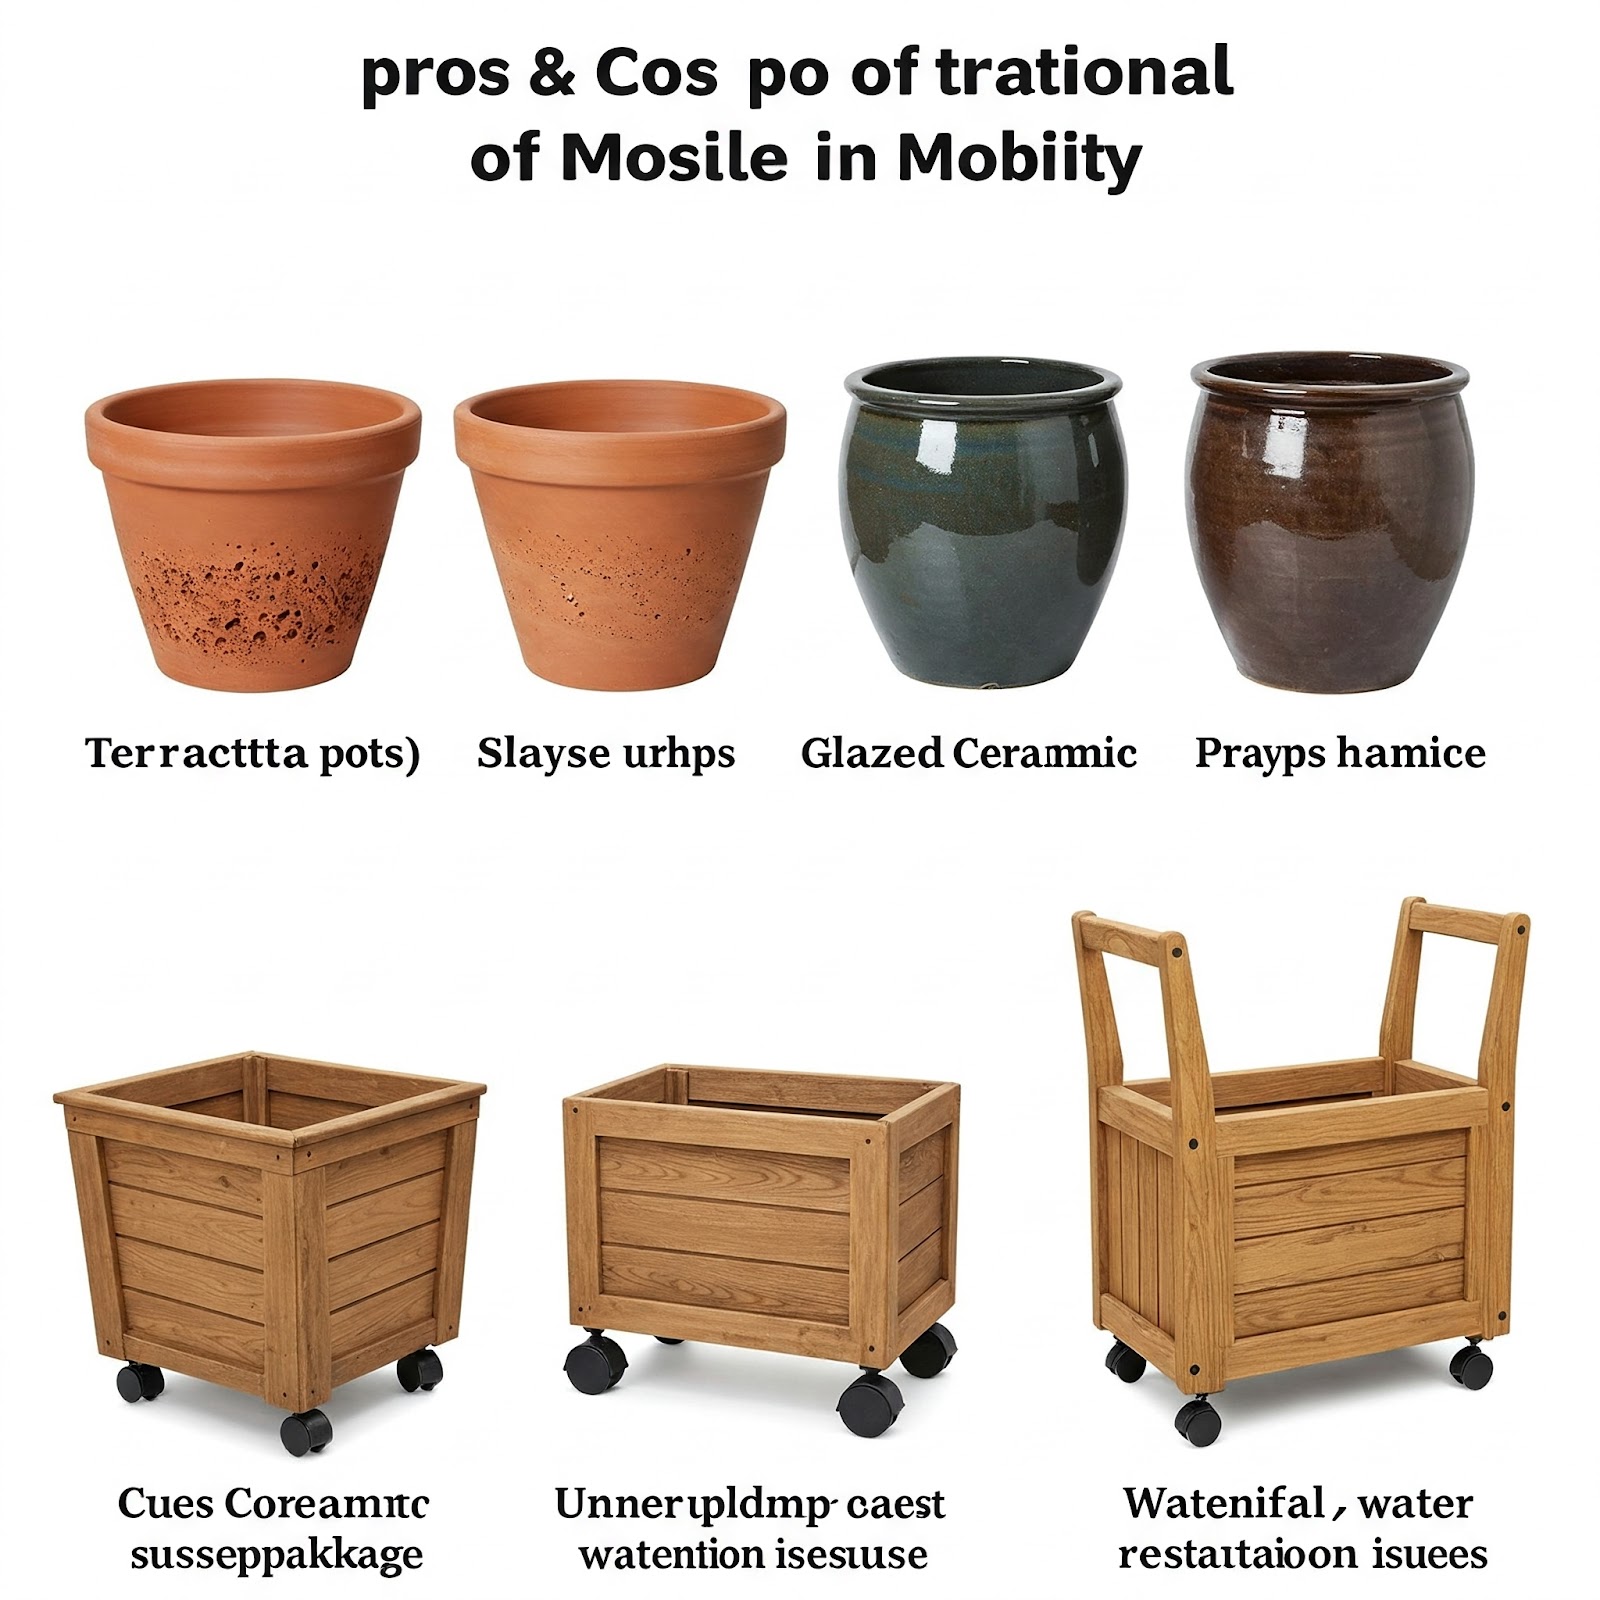
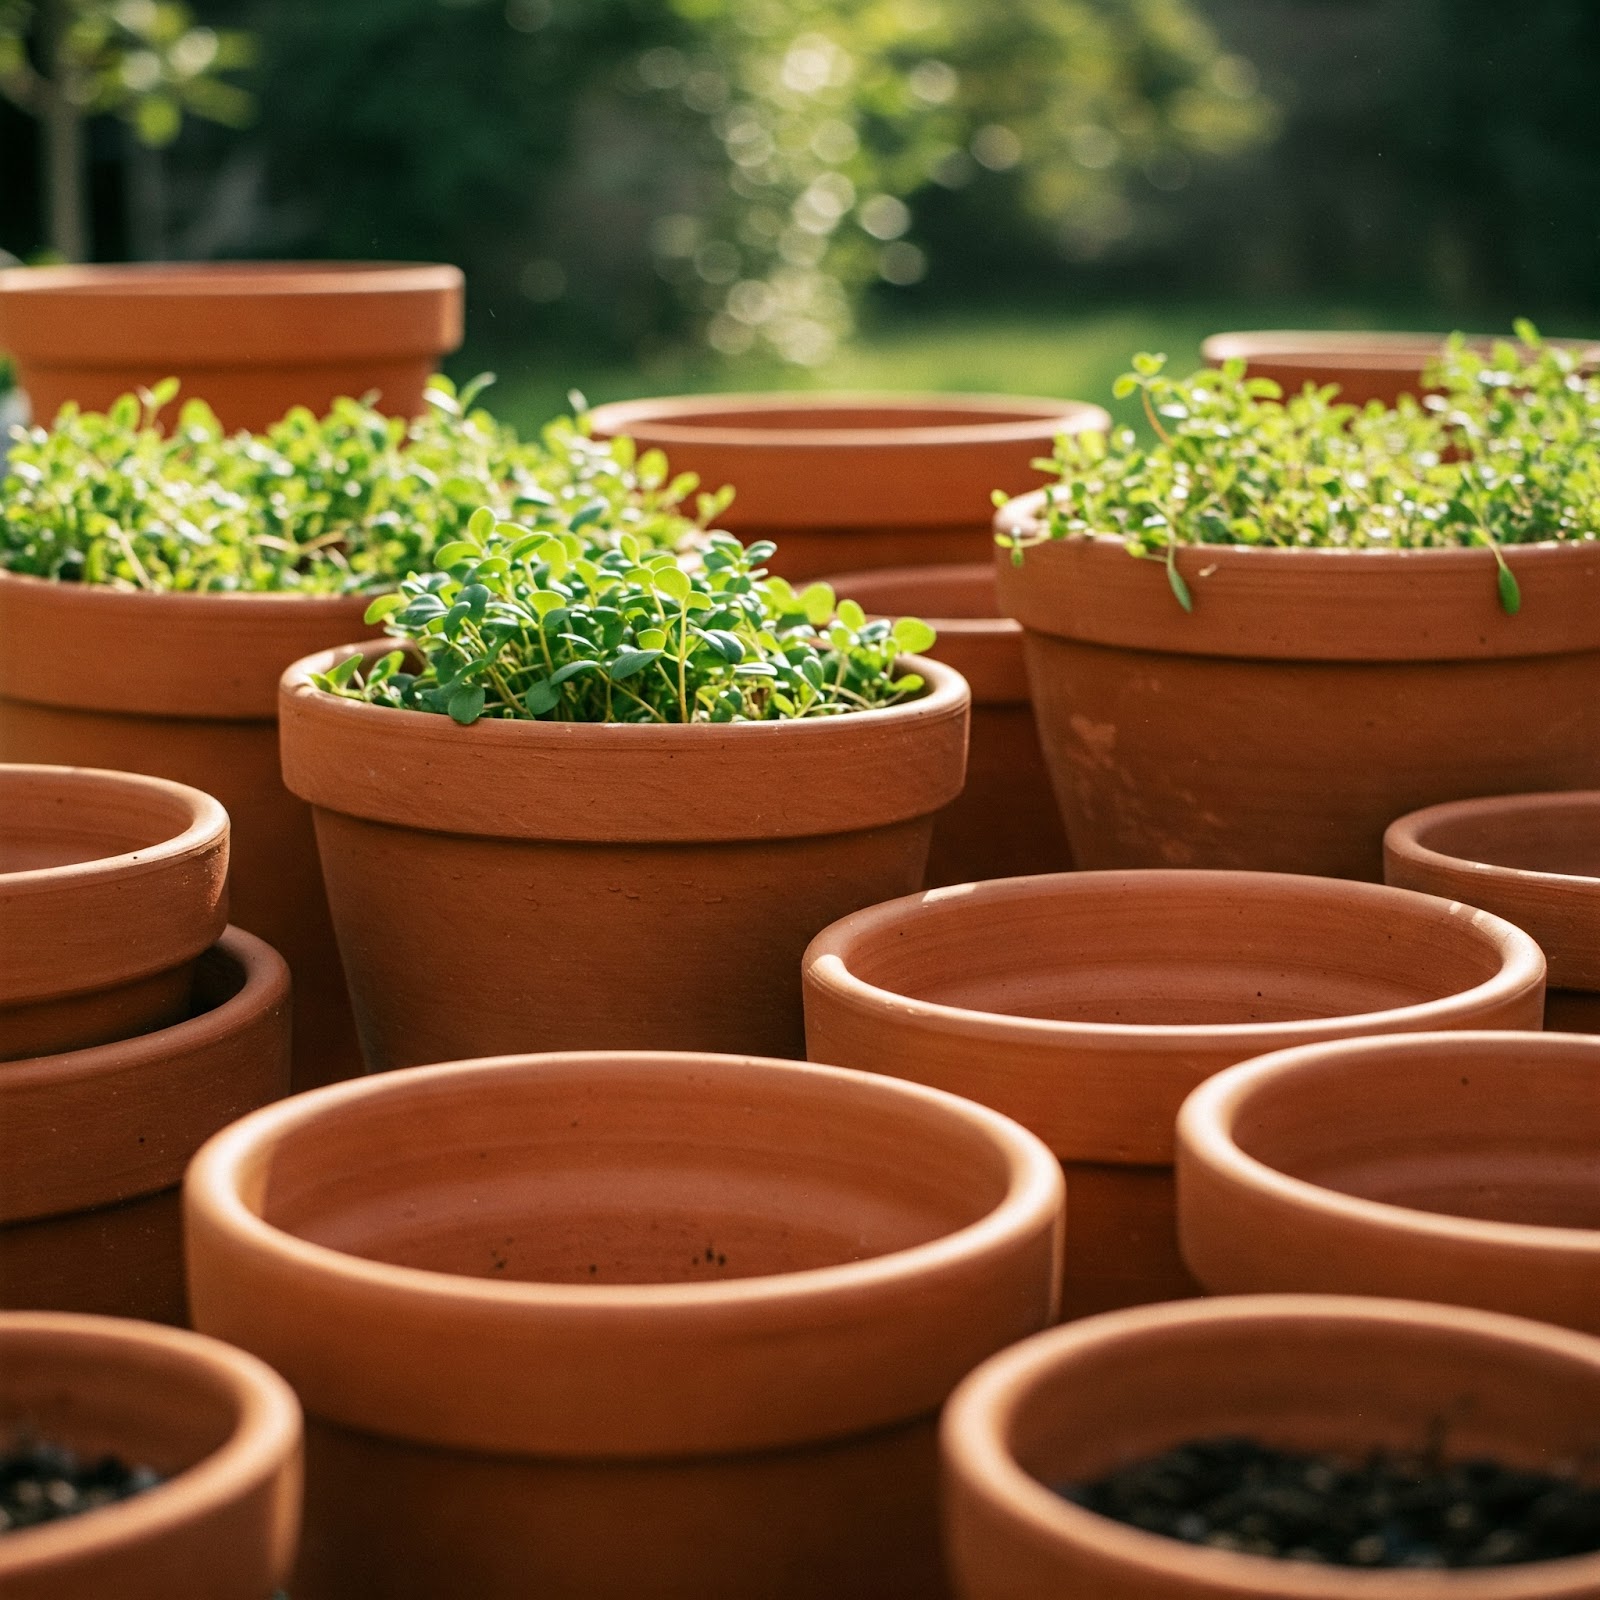
Terracotta (clay) pots
Clay pots are porous (good aeration) and heavy (stable), but they dry soil quickly and can crack in winter.
Glazed ceramic pots and Benefits
Glazed ceramic pots offer several advantages for gardeners seeking both functionality and visual appeal. One of their main benefits is excellent moisture retention.
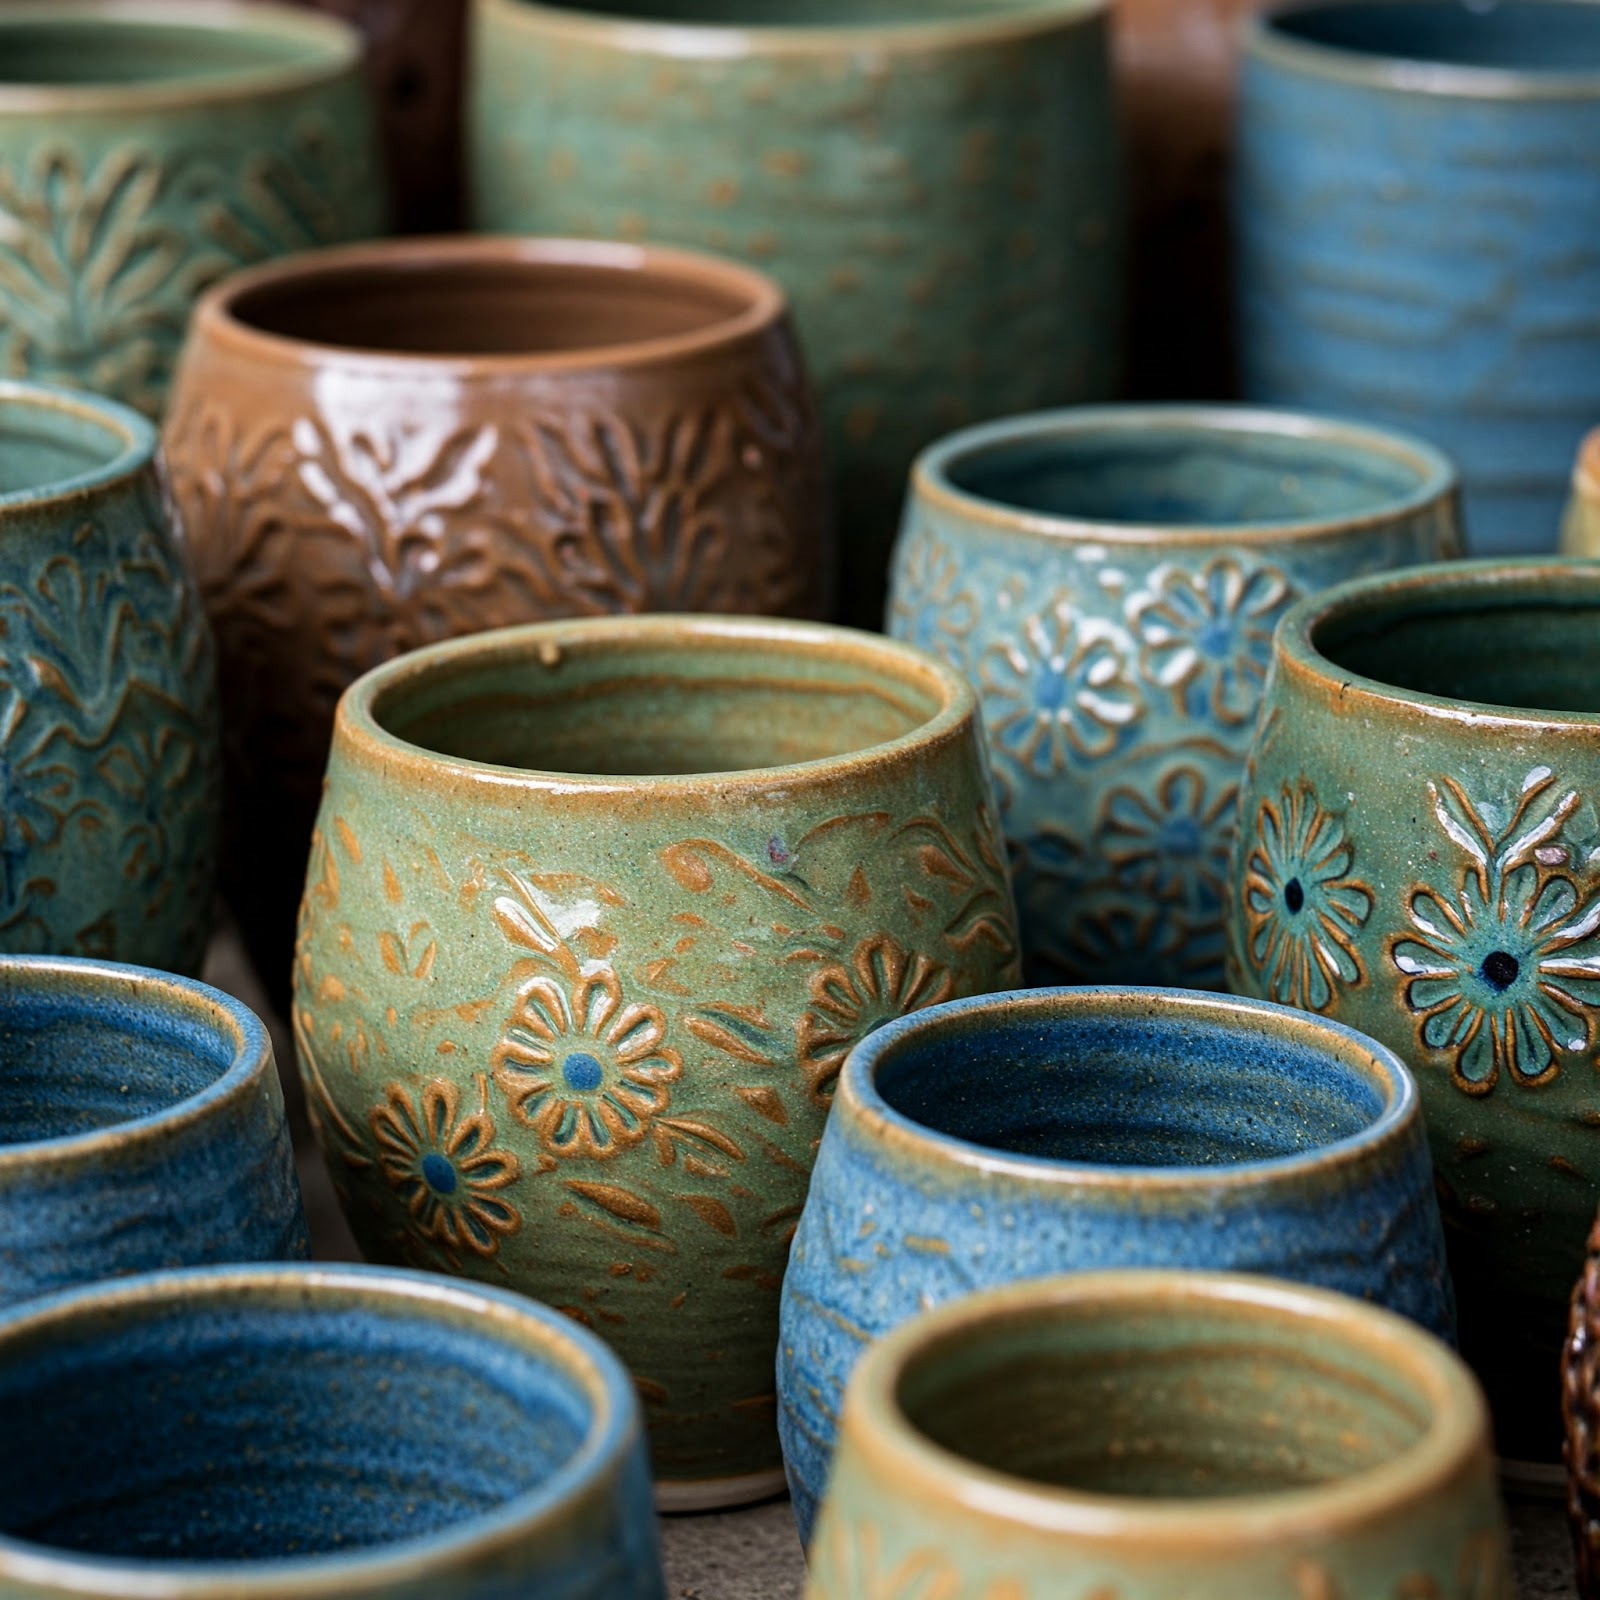
The glazed surface reduces water evaporation, helping the soil stay consistently moist, which is ideal for plants that require regular hydration. These pots are also highly durable. The glaze acts as a protective layer, making them more resistant to weather damage, cracks, and fading over time. In addition to their practicality, glazed ceramic pots bring a decorative touch to any space. They come in a wide range of colors, patterns, and finishes, allowing gardeners to match their plant containers with indoor decor or garden themes.
Another benefit is root protection. Ceramic naturally insulates, helping to shield plant roots from sudden temperature changes, whether it’s extreme heat or unexpected cold. The sturdy weight of these pots also provides stability for tall or top-heavy plants, reducing the risk of tipping over. With their long lifespan and low maintenance, glazed ceramic pots are a reliable and attractive choice for both indoor and outdoor gardening.
Wooden planters
(like half-barrels) provide insulation and a rustic look, but eventually rot and are heavy. A major pro of hard-sided pots is durability – a quality plastic or ceramic pot can be reused for many years. They also hold water longer because they are less breathable than fabric (plastic especially keeps soil moist, which can mean less frequent watering). However, that lack of breathability means roots can circle and pots can get waterlogged if drainage is poor. It’s important to have multiple drainage holes and use proper potting mix.
Root circling can be mitigated by using very large pots (so the roots don’t hit the sides as quickly) or periodically root-pruning perennials (less of an issue for one-season tomato plants). Plastic pots are easy to sanitize and store (they nest when empty, saving space). They also come in various sizes – many gardeners have success using simple 5-gallon buckets (with holes drilled) to grow tomatoes, which essentially function as sturdy pots.
If you want a more decorative look or don’t want to water as frequently, a large pot might be better. For instance, on a patio with infrequent tending, a 20-gallon plastic barrel will hold moisture longer than a 20-gallon fabric grow bag. You can also mix and match: some gardeners start tomatoes in grow bags then transfer the bag into a decorative pot as the plant grows (using the bag like a liner).
Mobility Factors for Growing Tomatoes in Raised Beds and Containers
Container Portability
Tomato containers can be moved to optimize sunlight exposure, protect from extreme weather, or rearrange garden layouts. Choose lightweight or wheeled pots for easier movement.
2. Seasonal Flexibility
Mobile containers allow you to start tomatoes earlier indoors and move them outside when temperatures rise, extending the growing season.
3. Pest and Disease Management
If pests or soil diseases appear, movable containers can be relocated to a cleaner area, helping isolate and manage issues.
4. Raised Bed Limitations
While raised beds offer great drainage and soil control, they are fixed in place. To add some mobility, consider using modular or framed bed systems with detachable panels.
5. Space Efficiency
Containers can be rearranged to fit balconies, patios, or tight urban spaces, maximizing your gardening footprint.
6. Sunlight Optimization
Tomatoes need 6–8 hours of direct sunlight. Mobile pots allow you to chase the sun throughout the day or season for optimal growth.
7. Weather Protection
Easily move containers under cover during storms, frost, or heatwaves to protect tender tomato plants.
